How to install Wallpapers
-
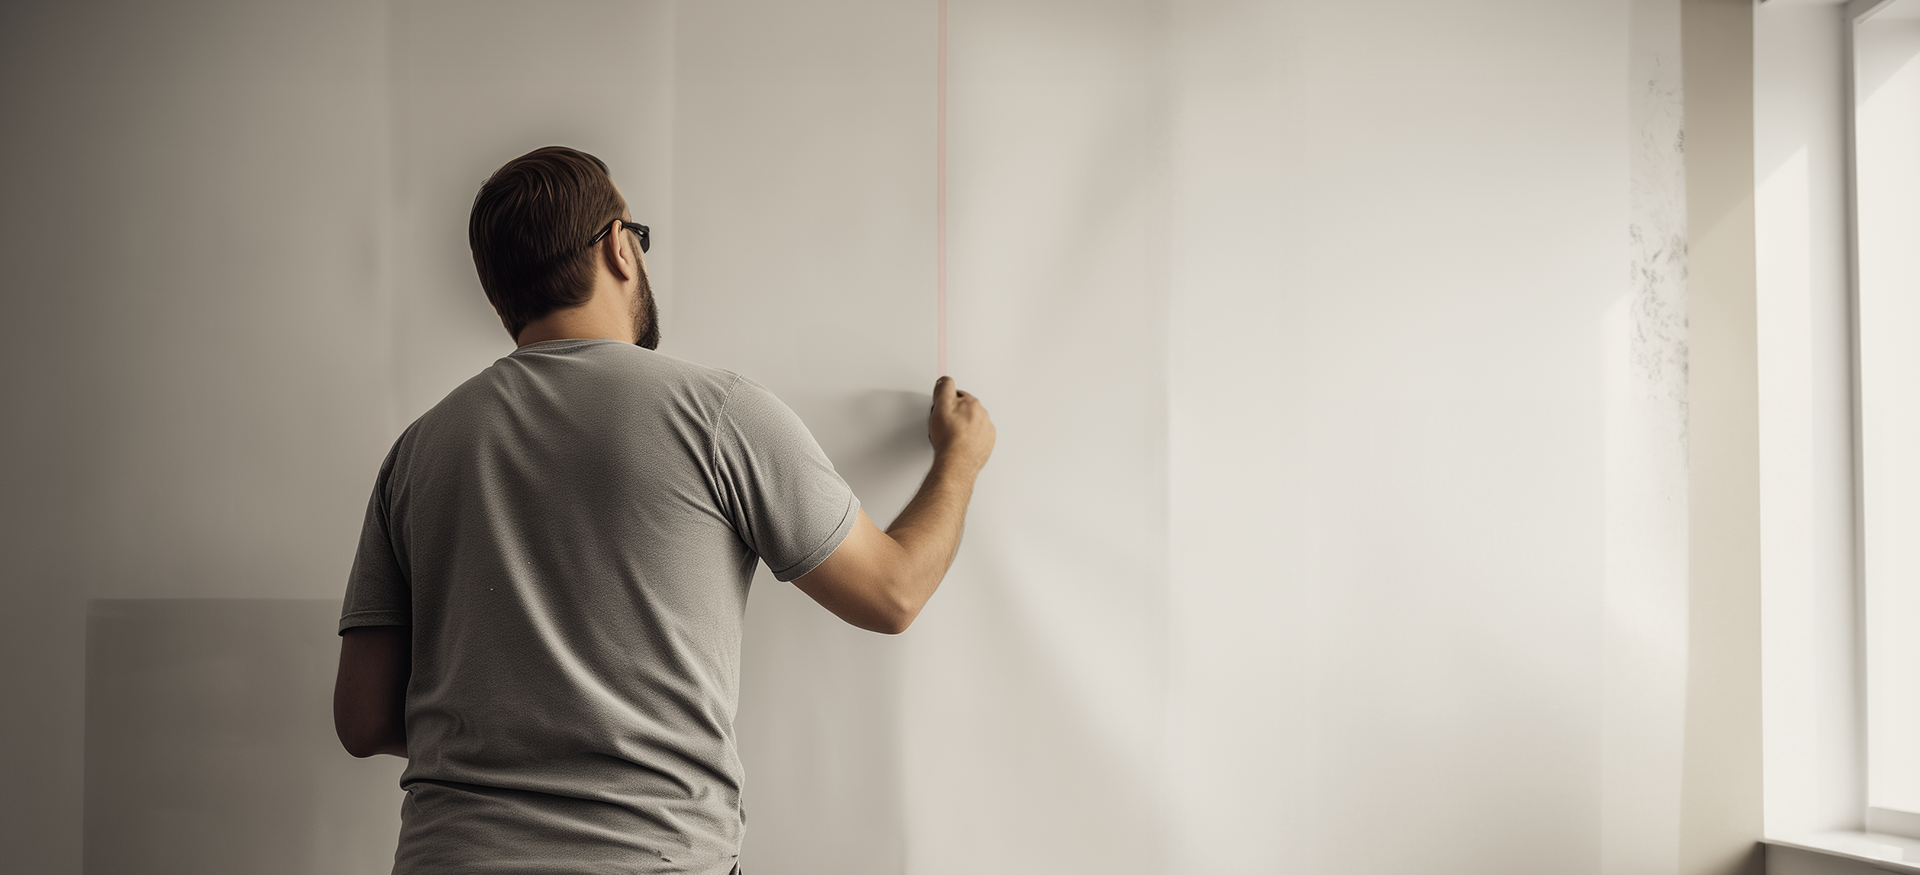
Step 1
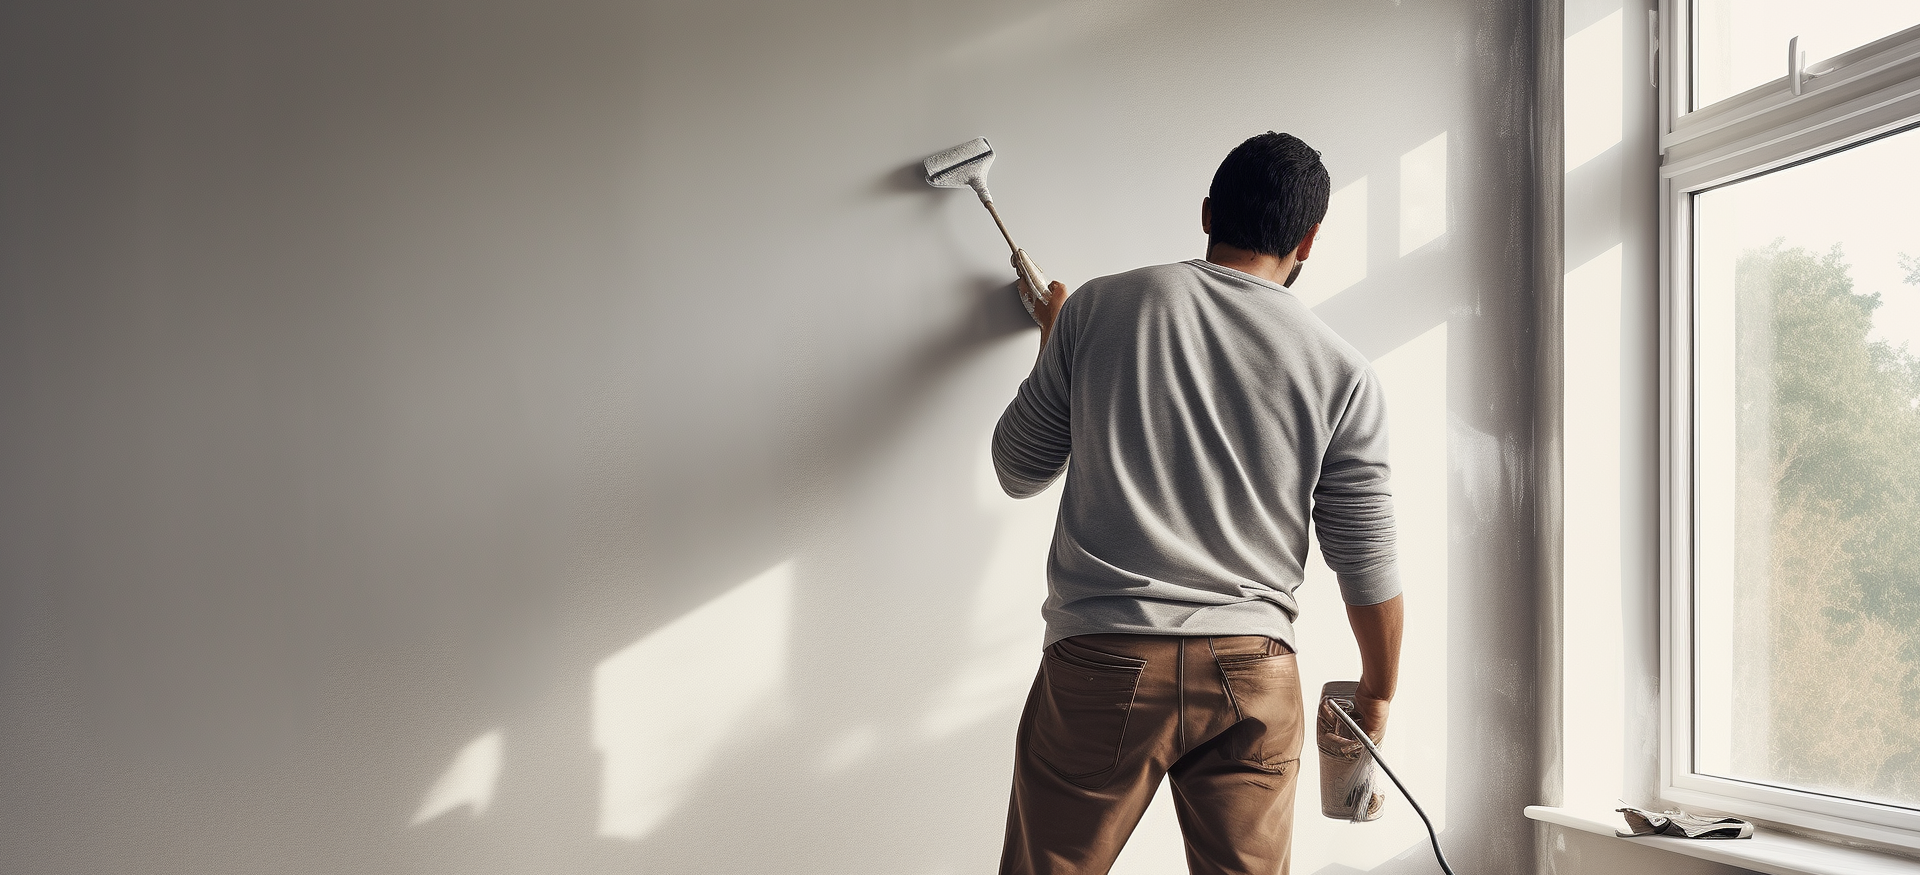
Prepare Your Wall Surface
Before you begin, ensure your wall is clean, smooth, and free of any dust or debris. Apply a thorough and even double layer of primer for a solid foundation. Repair any imperfections, like holes or cracks, to create an ideal surface for wallpaper application.
-
Step 2
Measure and Align
Our wallpapers come in panels for convenience. Measure the height of your wall and align the panels accordingly. Leave a few extra inches at the top and bottom for adjustments. If your wallpaper has a pattern, be mindful of matching it between panels.
-
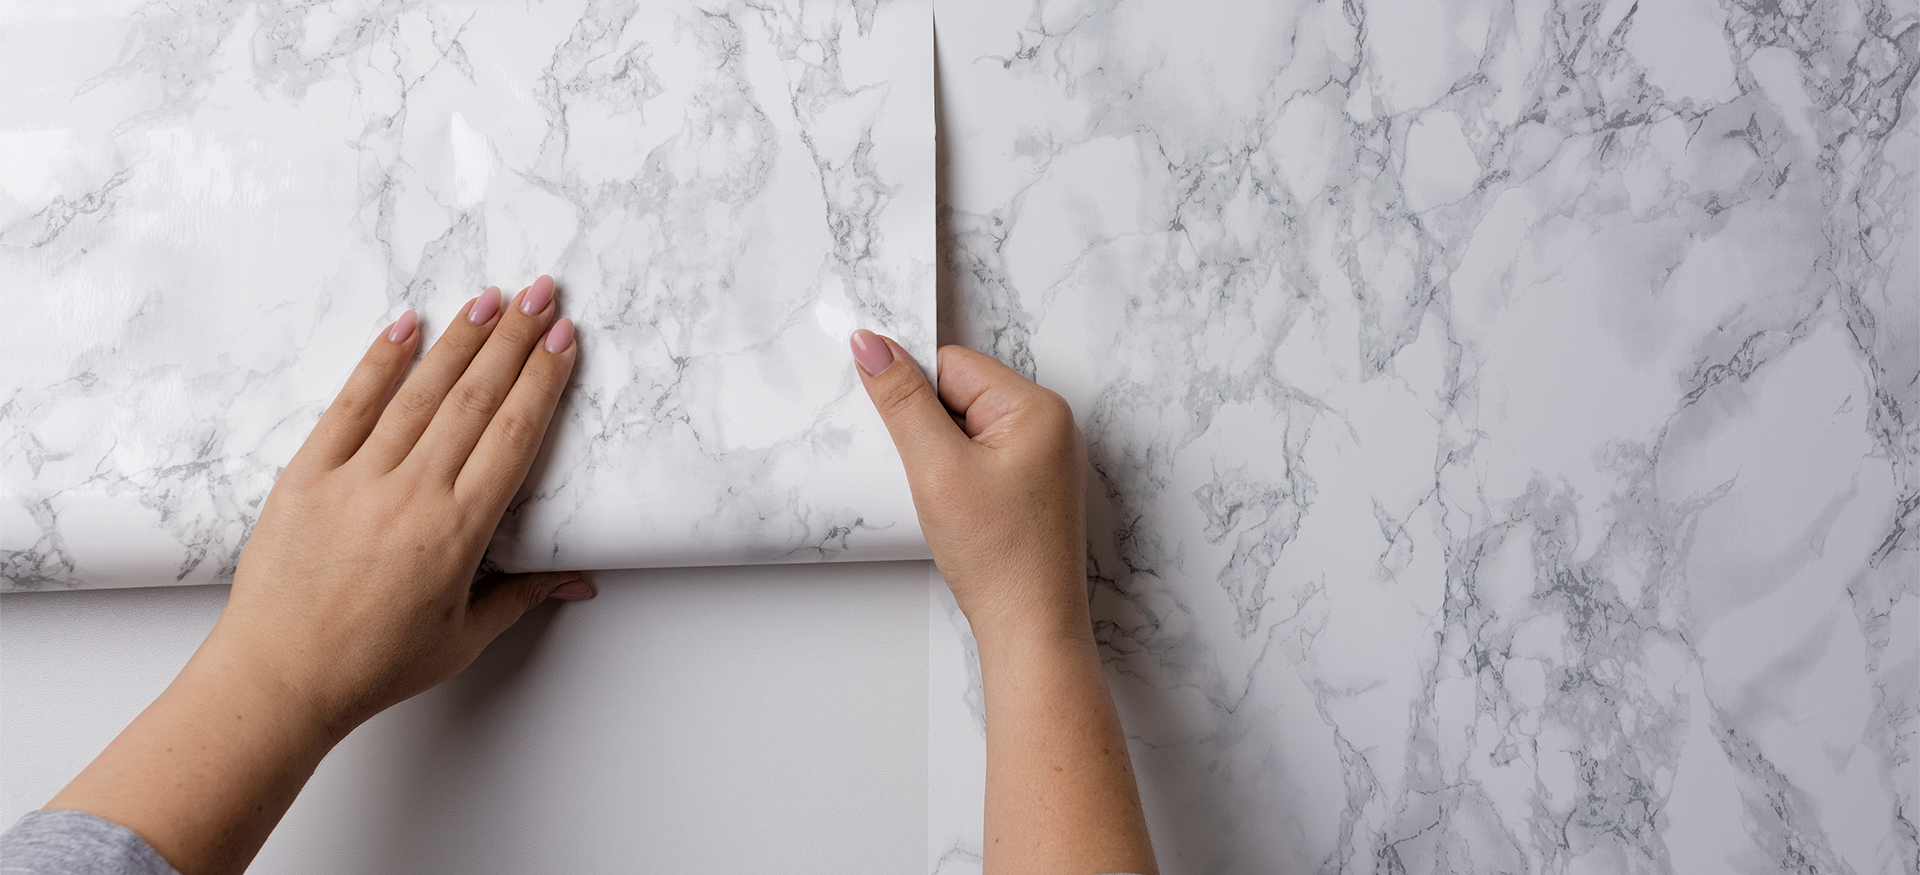
Step 3
Apply Wallpaper Adhesive
Apply wallpaper adhesive evenly to the back of each panel, and use a wallpaper smoothing tool or a damp sponge to eliminate air bubbles and ensure a secure bond. Align the first panel with precision, and smooth it from the center to the edges.
-
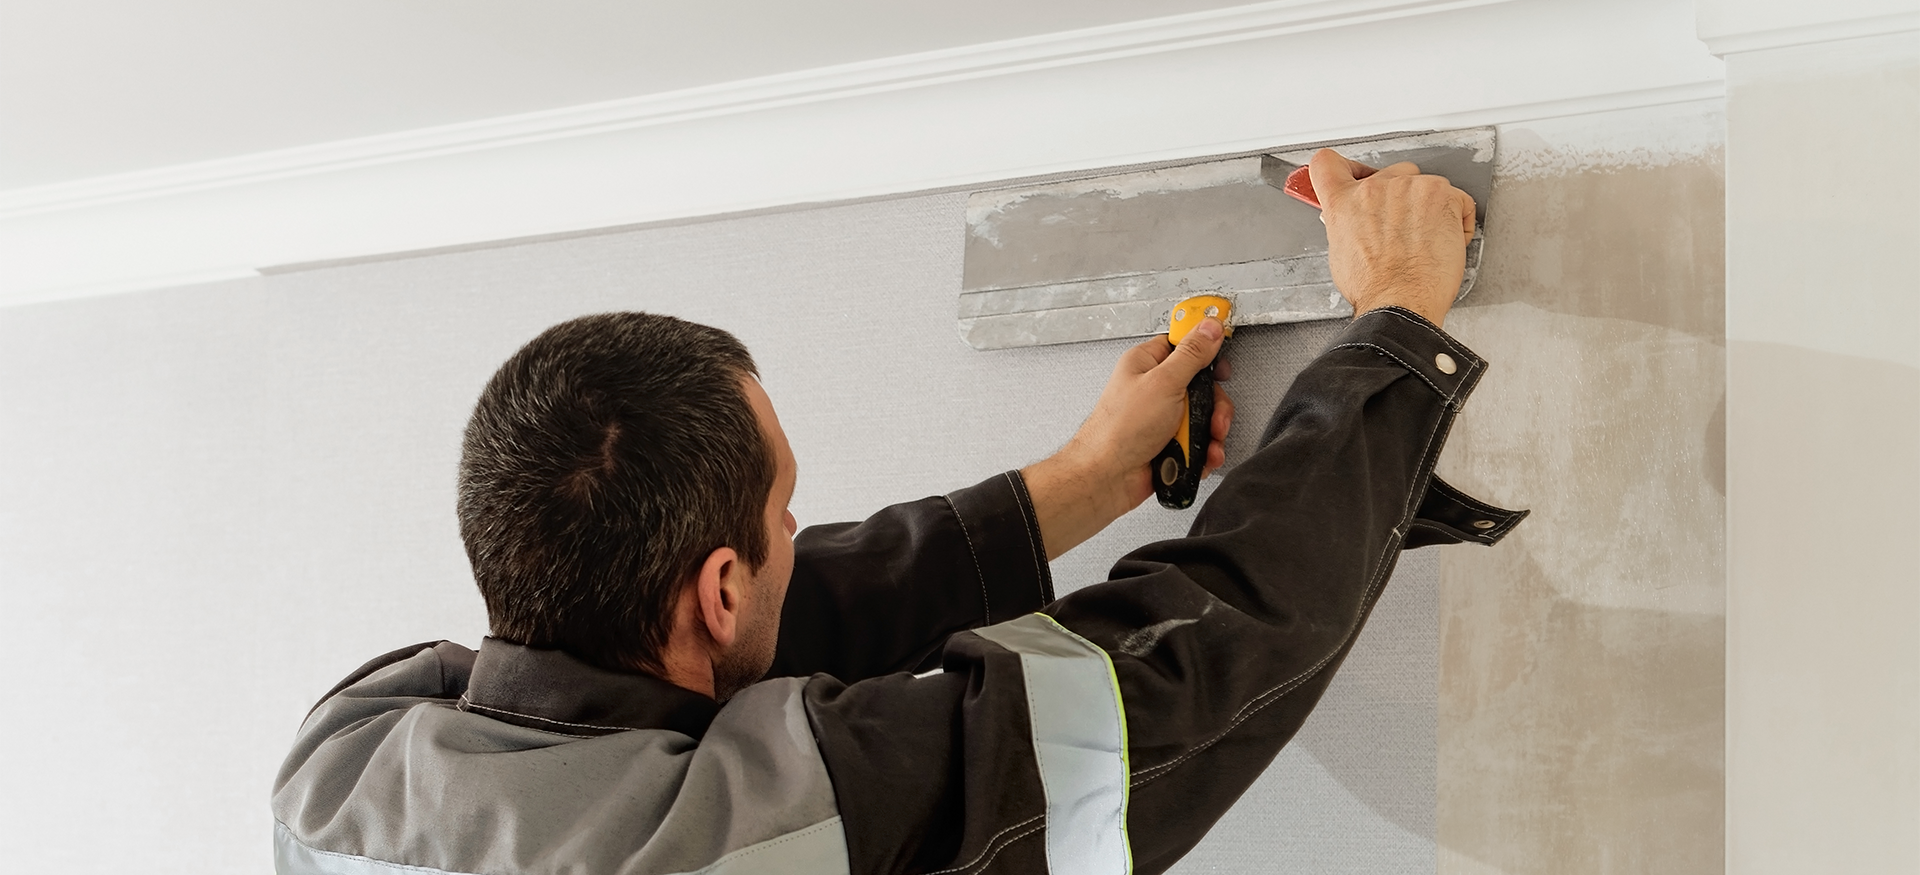
Step 4
Trim Excess and Repeat
After applying each panel, trim excess wallpaper at the top, bottom, and sides using a sharp utility knife. Repeat the process for the remaining panels, ensuring a seamless pattern match. Take your time and use a straight edge to achieve clean, precise cuts.


How to install Decals
-
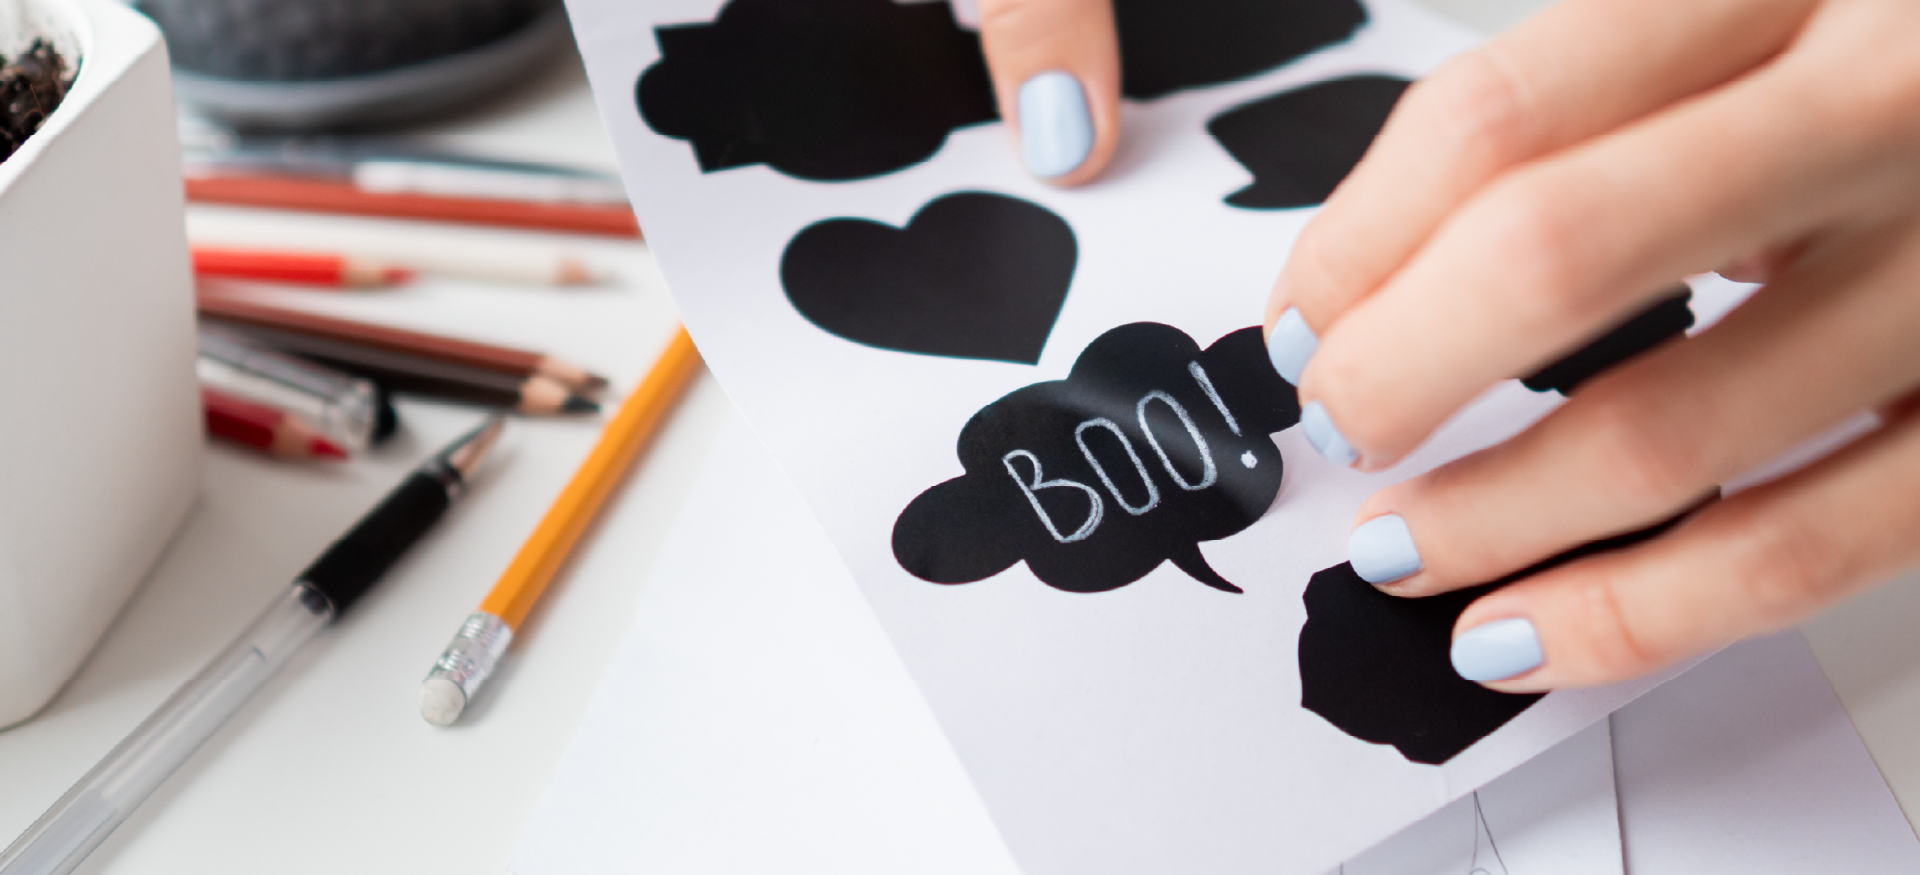
Step 1
Clean and Apply the Decal
Start by cleaning the surface thoroughly. Wipe away any dust or debris, ensuring a smooth base. Once cleaned, carefully remove the backing from the masking tape-based decal. Position it on the desired surface, smoothing it down as you go to avoid air bubbles.
-
Step 2
Smooth and Remove Masking Tape
After applying the decal, use a flat tool or your hand to smooth out any remaining air bubbles, working from the center to the edges. Once satisfied, gently peel off the masking tape, revealing the perfectly applied decal. Take your time to ensure a seamless and professional finish.


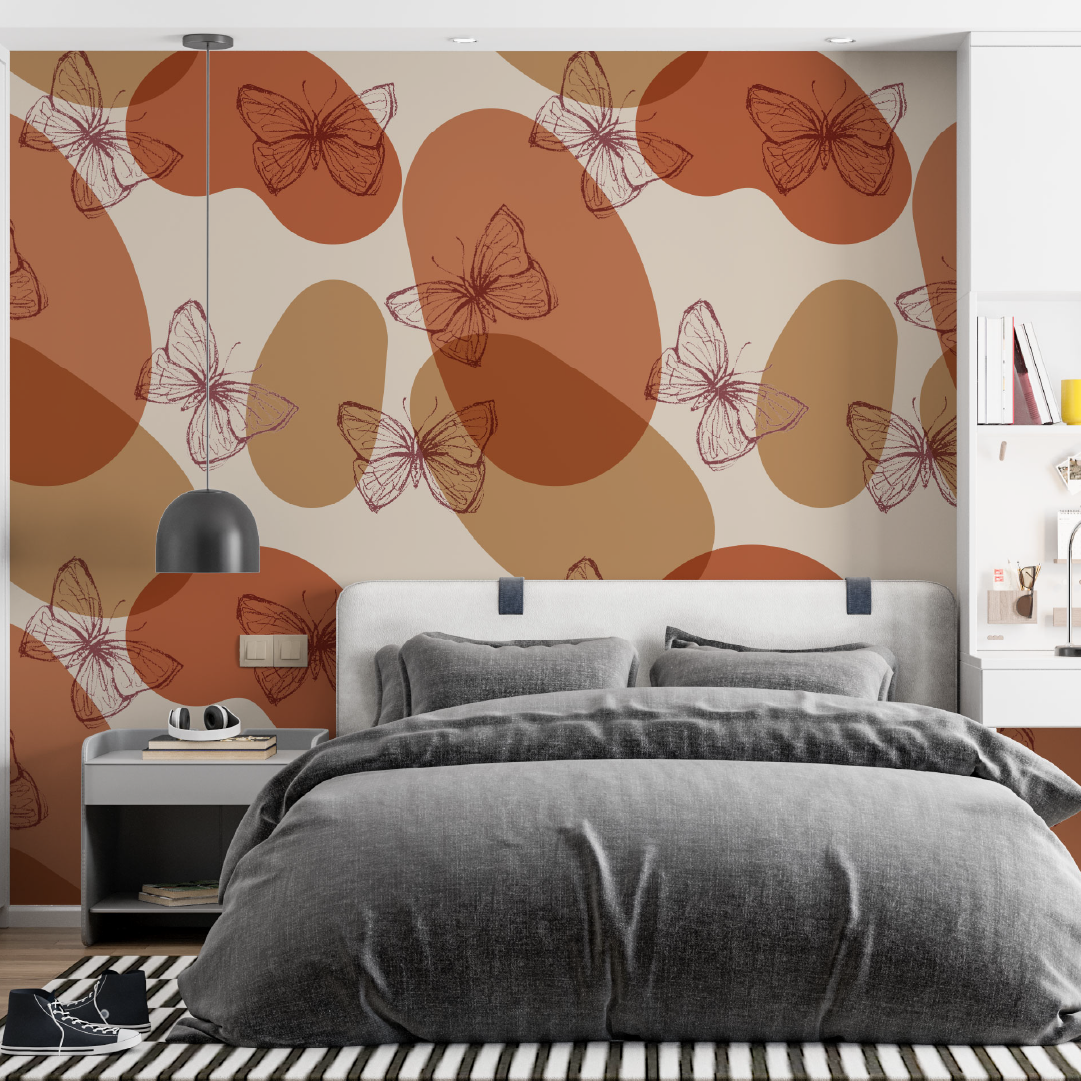
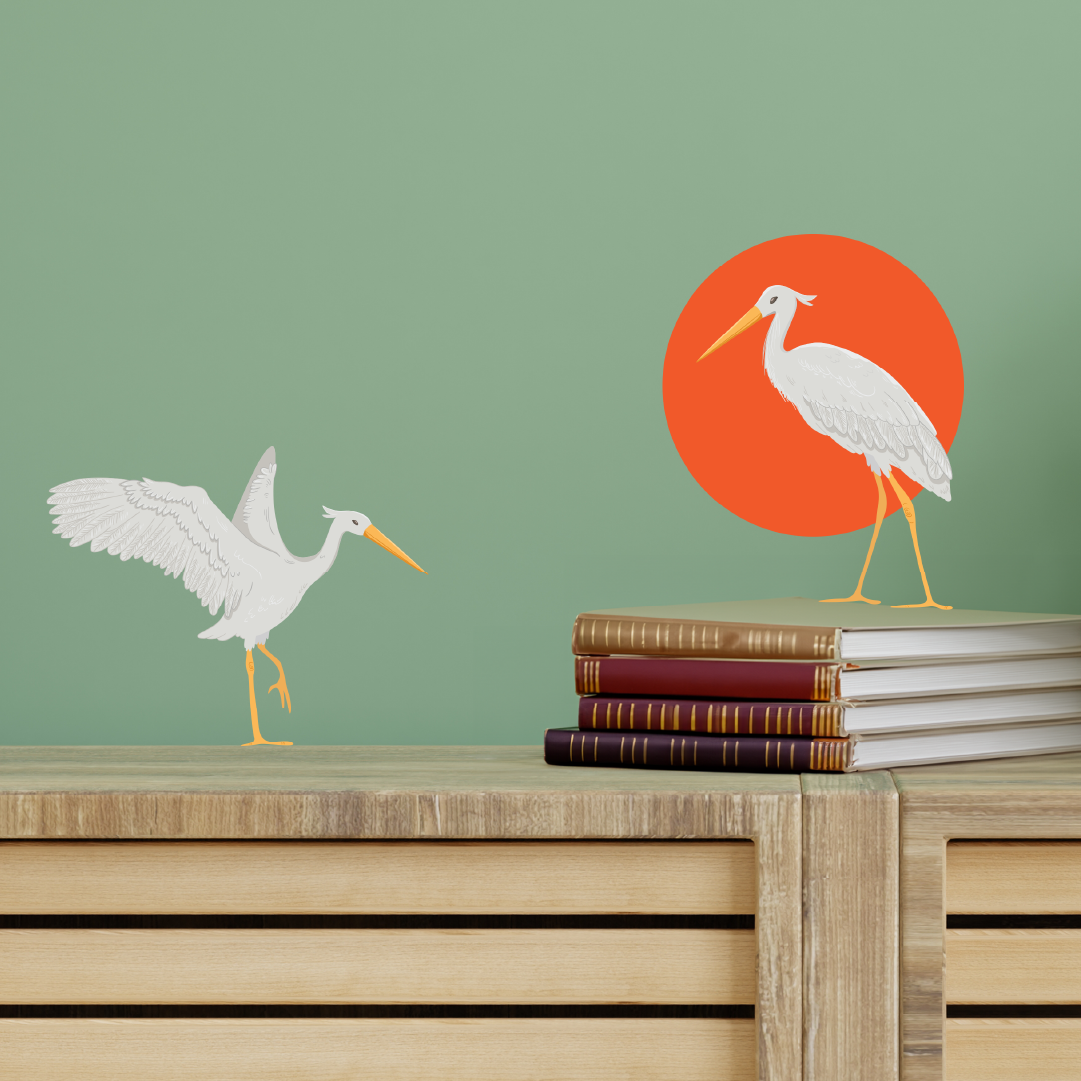
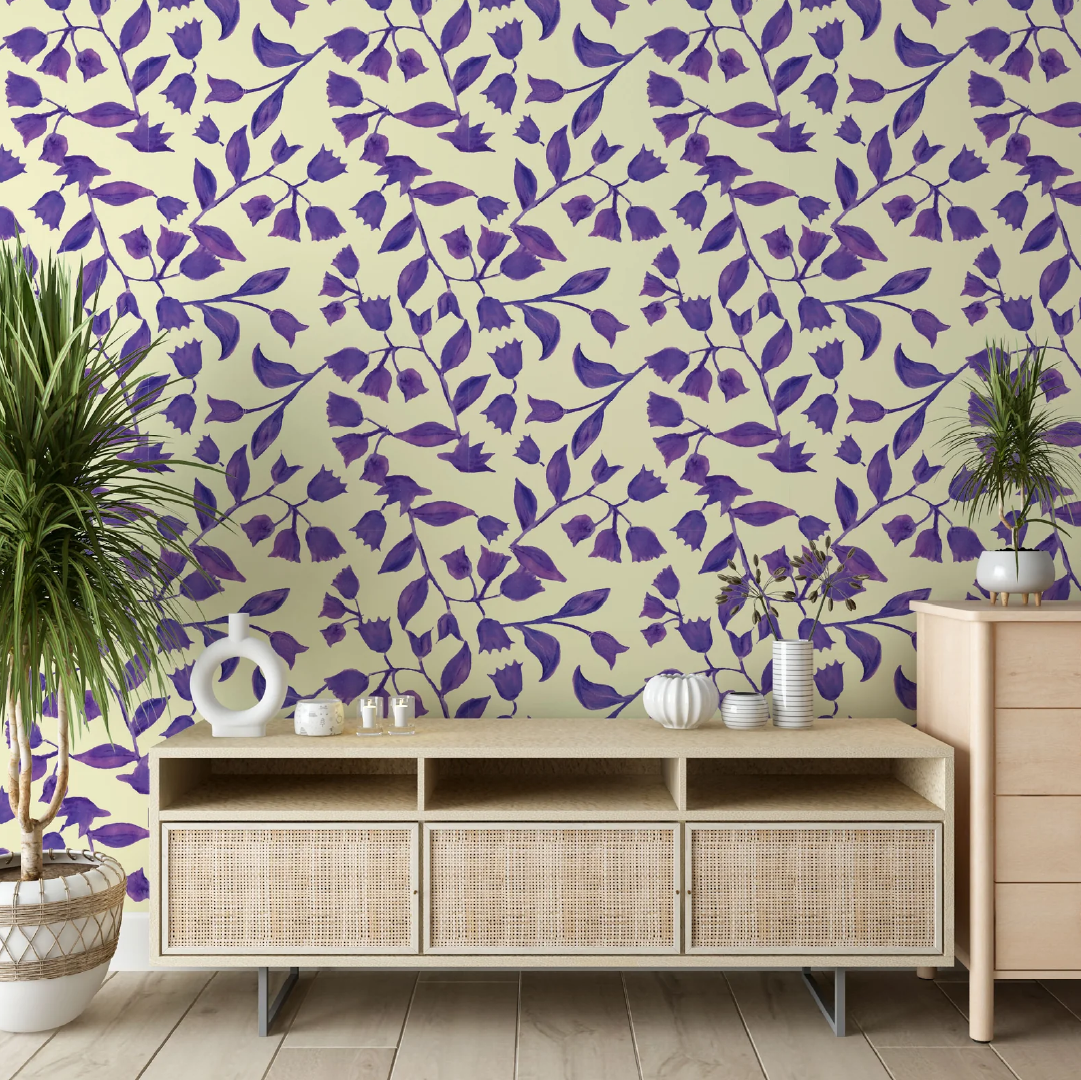
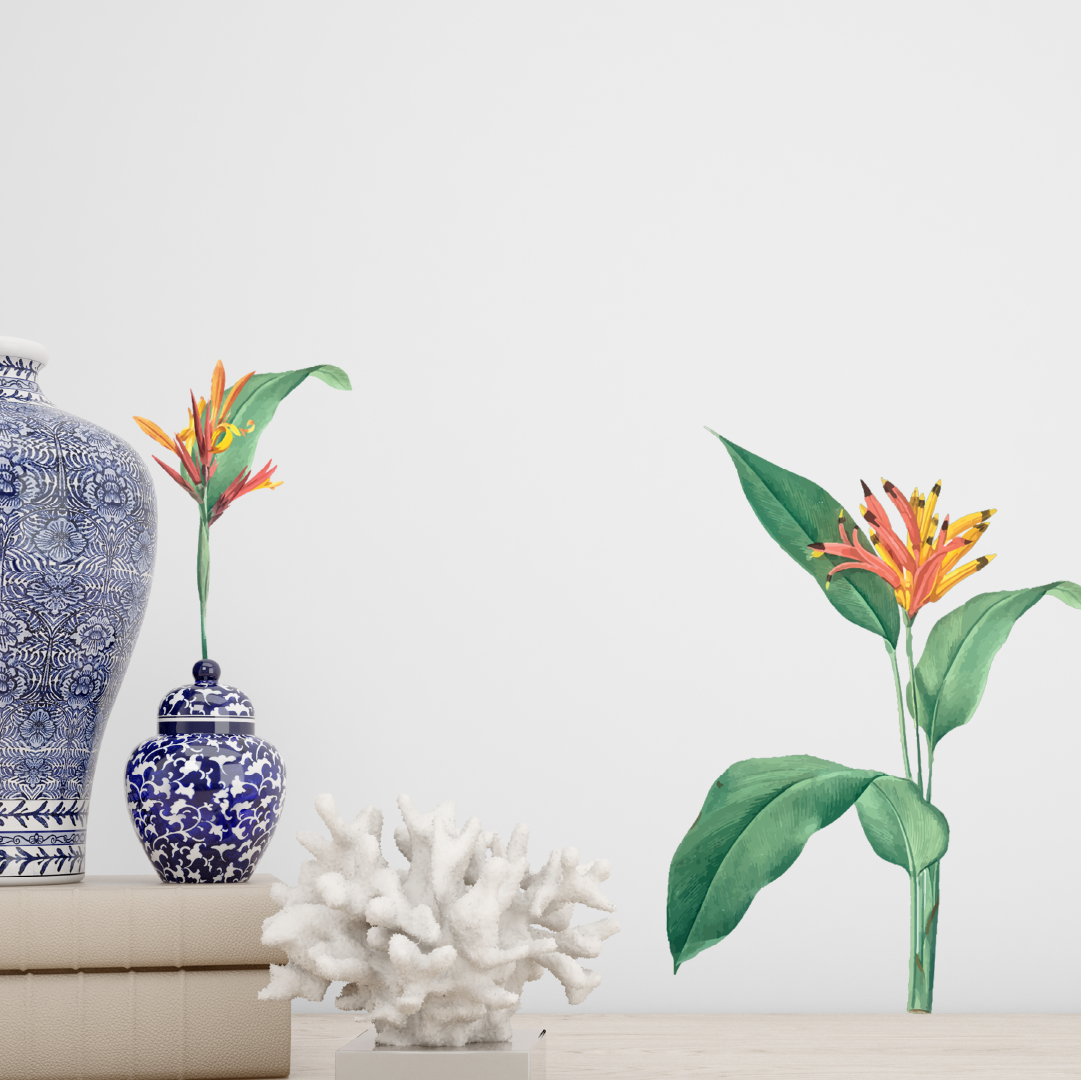
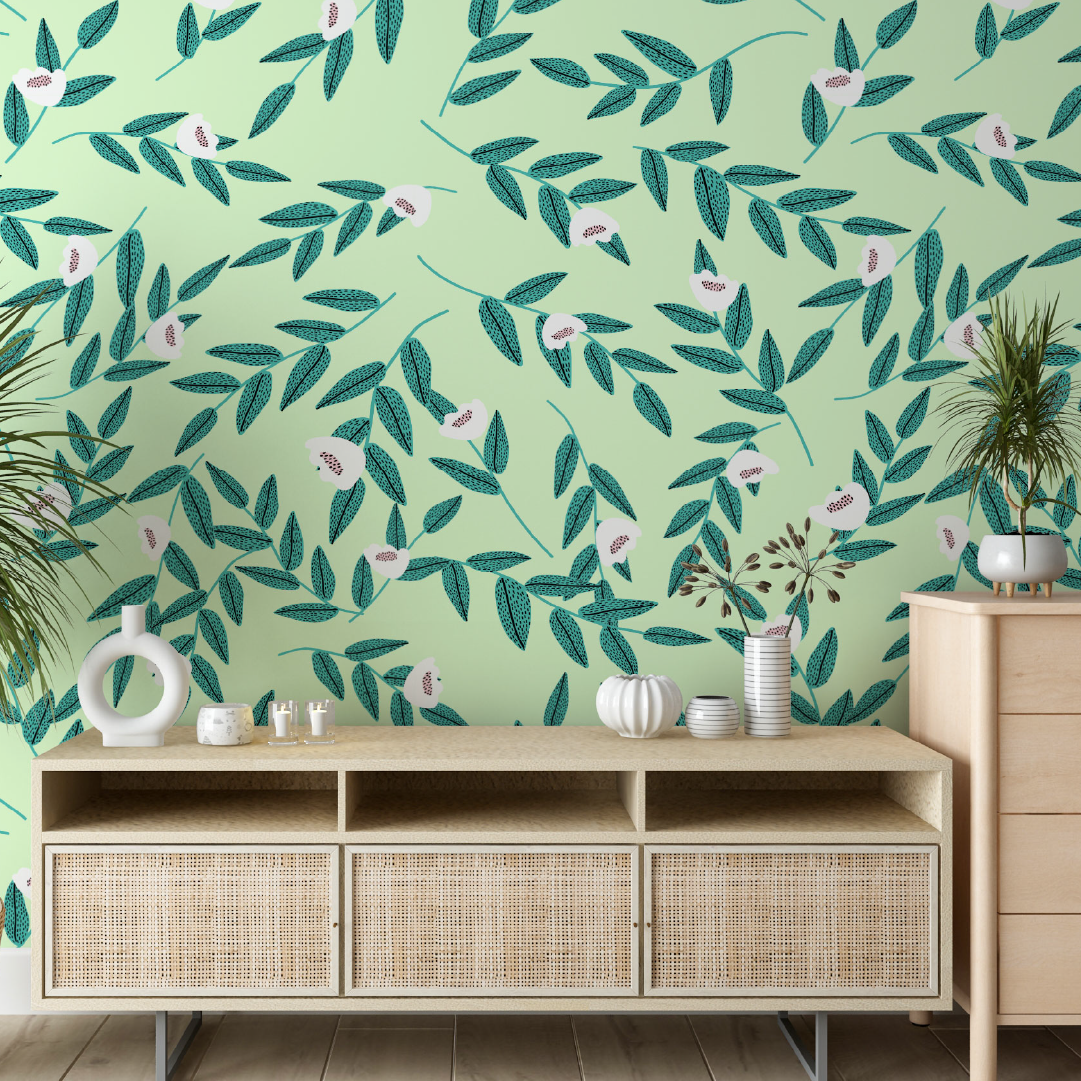
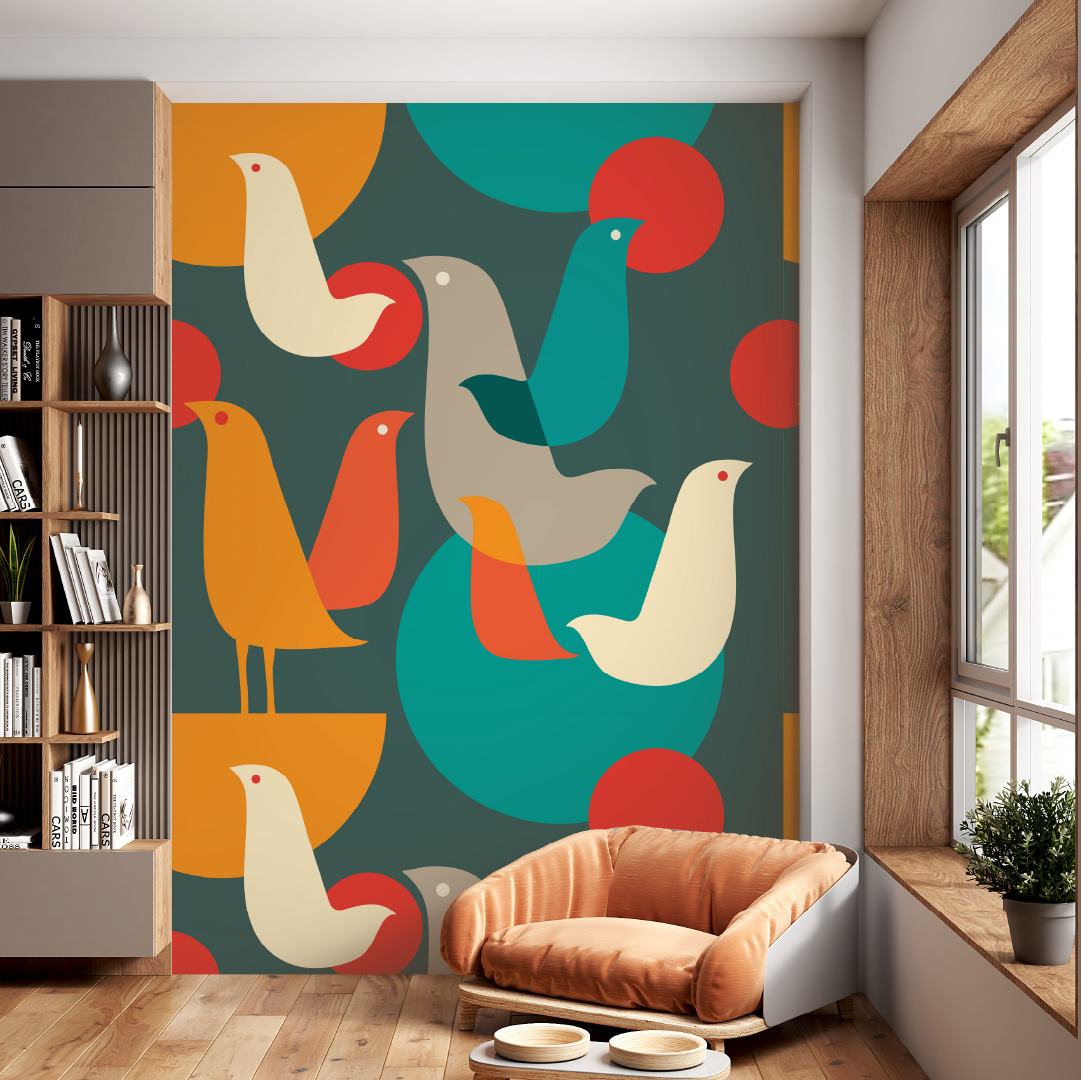
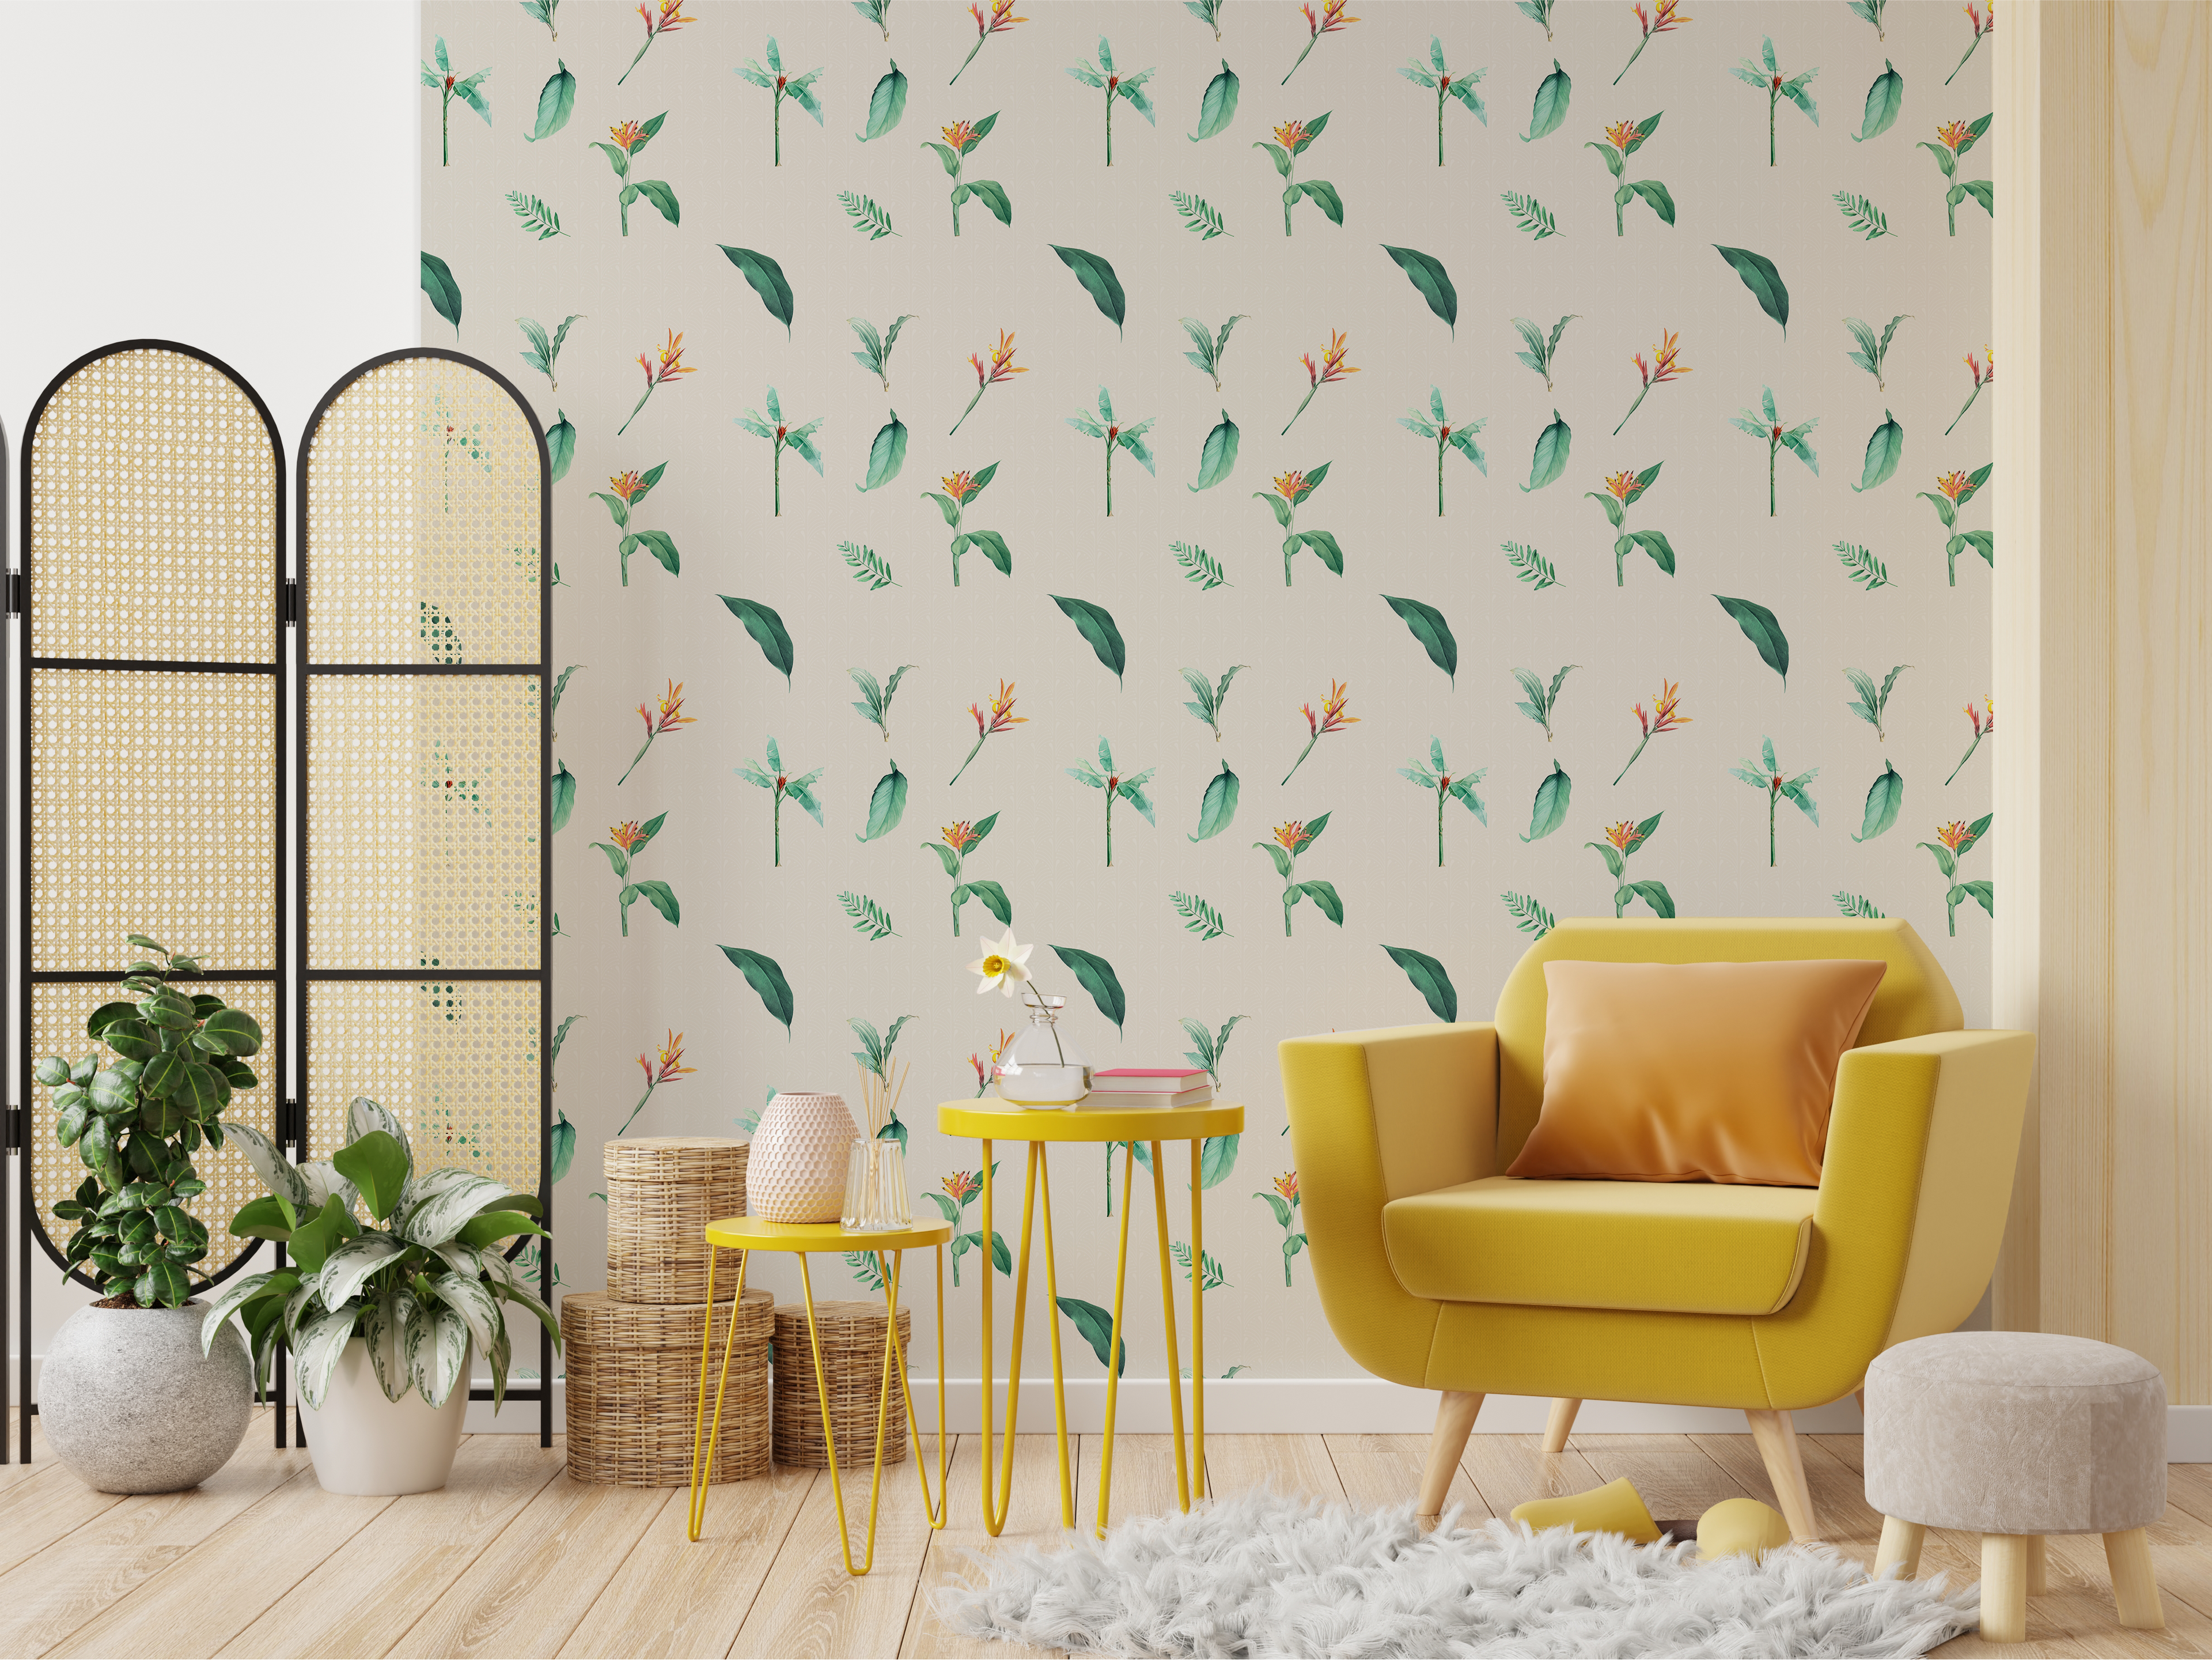
Looking for some inspiration?
Here’s few of most popular looks and design styles that we’ve worked on